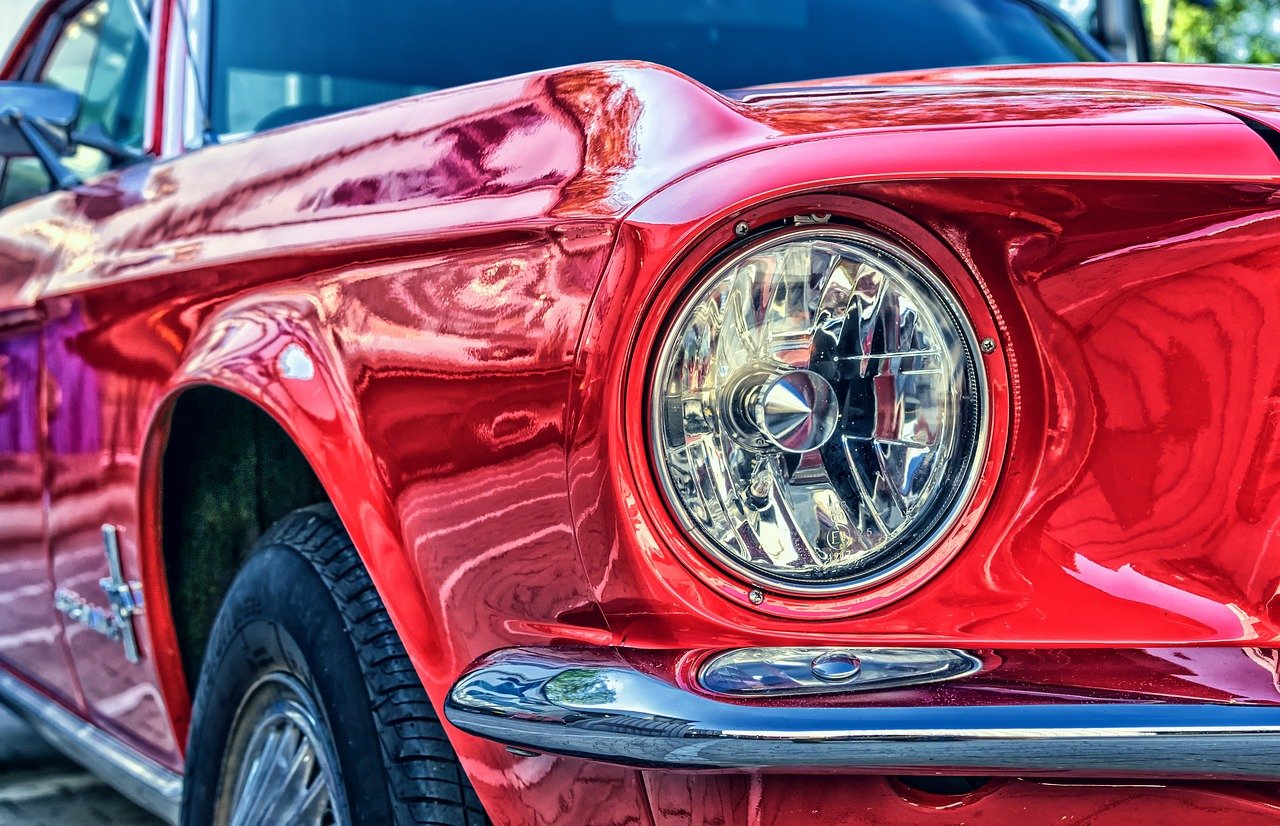
Whether your car’s paint is looking a little worse for taking it out, or you get bored by its look and just want a change of color so spray painting your car is a cost-efficient way to give your ride an entire fresh look.
Painting and bodywork have long been considered an art more than just a mechanical procedure. It requires many hours spent on welding, sanding, and preparing the body for paint and costly, professional grade equipment like commercial spray booths. Most people think that a “paint job” is a single-step process but in fact, painting a car is a multi-step process that leads up to the actual painting of the car.
You cannot paint your car in the open air, it needs a suitable environment with zero dust around and excessive precipitation. Therefore, it requires a closed room as we get in auto body painting shops.
There are different stages of painting a car.
Step 1: Remove Rust, Dents And Trims.
Rust is a process in which steel is oxidized or is normally caused by unprotected metal being exposed to water or water vapor. Before leading to paint, firstly make sure to fix any visible dents, repair rust, and remove chrome or plastic trim. After testing, Moldings and trim can be replaced.
Also read: Social media tips to grow your fitness business
Step 2: Sand
Sand your entire vehicle using circular motions, either metal, to the original primer, or at least enough for your new coat of paint to adhere to and provide your paint a soft, smooth, and even surface onto which it can adhere.
Step 3: Clean
Then they use a rag or denatured alcohol or mineral spirits to wipe down all surfaces of your vehicle thoroughly & remove extra dirt or grime, and ready it for painting.
Step 4: Tape Surfaces
In these auto body shops workers, use masking tape and newspaper to cover the surfaces of your vehicle that you don’t want to be painted that are mirrors, window trim, glass, grills, and door handles. It helps to avoid unnecessary color on these surfaces.
Stage 5: Primer
Now we are ready for paint. Before the paint is applied, the car must be primer with quality primers. The primer fulfills several purposes leveling the surface body & overcoming manufacturing deformities if any. The primer also prevents the body from rust, heat differences, stone chips & UV radiations.
Basecoat is the second stage after Primer coat. This is the stage where visual properties and color effects come into being. The base coat is usually of three types: solid, metal c, and pearlescent. Metallic paint has all the glitter and glints that you see in cars nowadays.
Stage 6: Clear-coat
Clear-coat is the final part of the painting procedure. In this, transparent coating is put on the base coat that comes in contact directly with the environment. It needs to be chemically stable to overcome UV light and durable enough to resist bruises. This coat can be either water-borne or solvent.
The base coat is usually left unchanged because rock chips and door dings are usually less apparent in base/clear paint jobs. The biggest benefit of a base/clear paint job is the luster it bestows. By clear coating over the color, the paint job looks thicker and has a glossier appearance than just single-stage paint.
Step 7: Remove the masking tape
Then the auto mechanic shop worker will remove masking tape while the clear coat is still wet. According to the manufacturer, it allows the clear coat to dry.
Step 8: Buff
By Using circular motions, finish the paint job by buffing out all painted surfaces or can also try a rubbing compound to bring out a glossy look.
Most modern paints do a reasonable job of safeguarding the underlying metal, but cheaper paints are less tolerant to the sun, fade quickly if the car sits outside for a long duration.
All of these procedures are performed & the automotive paint process comes to an end. These procedures are used in every case but the outputs may vary depending upon the type of paint you have chosen for your vehicle.

