
One of the newest nail art trends is water nail art; it is a colorful combination of nail polishes. Doing them at home is super easy, and they will look as if done by a nail expert. You can go around your home and experiment with various color combinations and some vegan nail polish ingredients from Beauty Garde that you think will match your style perfectly.
Here the top seven water marble nail art designs that you can easily try out at home. These are the most straightforward designs that you can pull off at home and make your nails look sophisticated and beautiful.
1. Neon Marble Nail Art
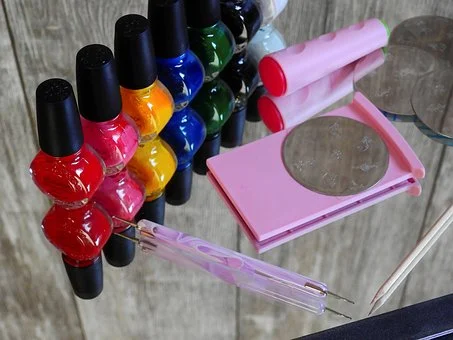
You would only need the following things for this nail art design
- A container of water
- Your favorite nail polishes color
- Toothpick
- Cotton swab
- Nail polish removal
Steps
- Pour water into a bowl, and start adding drops of your chosen nail polish.
- Add all the different types of colored polishes in the bowl
- Once done, use a toothpick to swirl around the colors to make a design you like.
- After that, use a cotton swab dipped in nail polish remover to clean up the area around your nails.
- Finally, seal the nail paint with a topcoat, and you are good to go.
2. Blue Nail Art
Blue can be a very soothing color, and when you put together some of your creativity, you can turn a simple nail polish into fantastic nail art. You need all your favorite blue nail polish sets.
Required Things
- A white nail polish
- Tape
- Toothpick
- Bowl of water
Follow the Below Steps
- Pick all the blue colored nail polish you love
- Apply a white nail base coat
- Drop your chosen nail polishes in a bowl of water
- Create the design you want with the help of a toothpick
- Save the area around the nail so you do not make any mess on your fingers
- Then dip your fingers in the bowl to cover your nail with the nail art.
3. Groovy Marbled nail art
This design is a little bit different. In this design, you have to create the art first and let it dry to cut them into the size to fit your nails.
This Design Needs the Following
- A combination of nail polishes
- Scissors
- A container of water
- Toothpick
Steps
- Add your desired combination of nail polishes in the water in circles
- Use a toothpick to create lines on the pattern from the outside to the inside of the nail polish.
- Then wait for the design to dry up on a paper towel
- Cut them into the sizes of your nail and store them in a cool, dry place
- Use them whenever you want by just applying them with little water and a topcoat.
4. Under The Sea Design
If you like “The Little Mermaid,” this nail art will remind you of the specific artwork you would have seen in the film.
For the Movie Finished Design, You Need
- Dark turquoise nail polish
- Light turquoise nail polish
- White nail polish
- Pastel blue nail polish
- Water in a bowel
- Toothpick
- Tape
Procedure
- Paint the nails with dark turquoise as a base
- Save the area around your nail with a tape
- Drop the colors into the water and create the design you want
- Dip your nail one by one into the design on the water
- Your movie nail art is ready.
5. Tiramisu Marbled Nails
The design is of some beautiful swirled brown, beige, and white nail polishes. The art looks like a tiramisu.
Things for Making This Design Include:
- Dark brown nail polish
- Light brown nail polish
- Beige nail polish
- White nail polish
- Tape
- Toothpick
- Water
How to Do It
- Apply the beige color as a base
- Save the area around your nail from nail polish.
- Drop the nail polish colors as circles and use a toothpick to draw lines from inwards to outwards.
- Dip your nails in the water to coat them with paint.
- Enjoy your nail art
6. Turquoise Nail Art
Turquoise is a stone for protection, peace, and healing. Also, these stones are breathtaking. Therefore, Turquoise nail art can turn out to be excellent.
Here Is What You Need
- Turquoise nail polish
- Black nail polish
- Tape
- Rubbing alcohol
Process
- As a base, use turquoise blue nail polish
- In a bowl of water, drop some black nail polish
- When the nail polish spreads on the water, spray some rubbing alcohol on the nail polish; when you do that, you will see that the nail polish will look shattered and separated.
- Secure the area around the nail with the tape, and then dip your nail in the water.
- You will have fabulous-looking nail art.
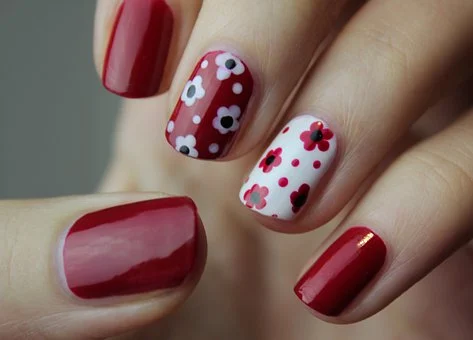
7. Spring Nail Art
Mix some bright, beautiful colors of your choice, so they look like springtime.
Here Is What You Need for the Art
- The bright colors that remind you of spring
- Bowl of water
- Tape
- Toothpick
Steps Involved
- Apply a base coat as white nail polish
- Then in water, drop all the bright colors you have picked for the art
- Make designs with the help of a toothpick
- Save the area near your nail and dip your finger in the water
- Enjoy the nail art in the comfort of your home
Ending Note
These top seven nail art are the simplest and the safest experiments that you can do at your home and have some fun while doing them. Always save the area around your nails as it is the most crucial thing of nail art. If you mess that up, it might ruin your nail art for a significant time.